How to add PWA functionality to your site?
What is a Progressive Web App?
A Progressive Web App is a mix between a website and a mobile application.
A Progressive Web App is an optimized version of a mobile site incorporating features of native applications (normally not available on a browser).
It combines the best features of a website and acts like an application.
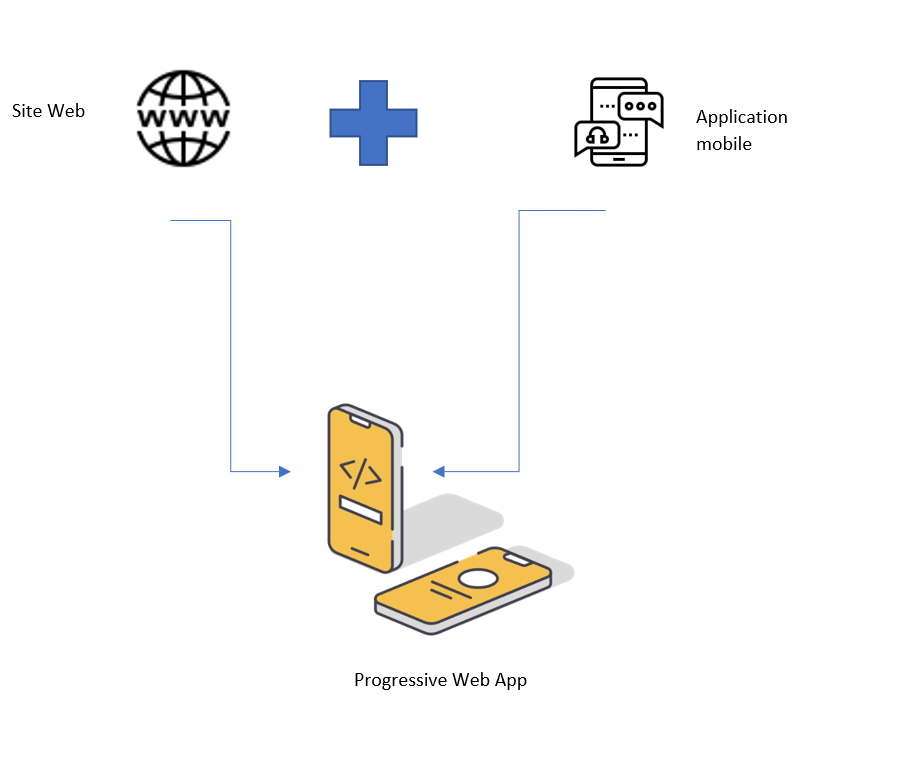
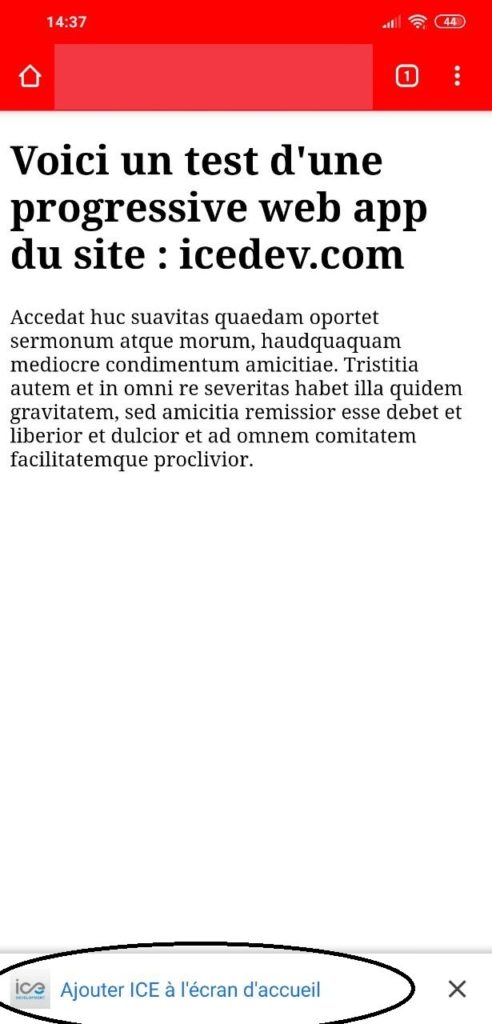
The general idea is to be able to display a shortcut to a website on the home screen of your smartphone. (see below)
This operation is carried out in 3 major steps that I will detail below :
- The Manifest : a JSON file that describes all the metadata of your PWA.
- Switching to the https protocol if it is not already using this security measure. Indeed, Progressive Web Apps must be served via a secure connection (see article on securing https).
- Service Worker: is a script that operates in the background of the browser, without user interaction. Furthermore, it acts like a proxy that operates on the client side.
Step 1 : The Manifest
As previously explained, the JSON manifest gathers all the necessary information for creating our PWA (name, icon, etc.)
This allows us to inform browsers about how to display our application as an “installed shortcut” on our phone.
It is placed at the root of our website (see below) :
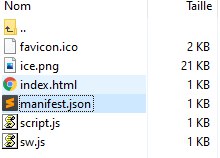
Here’s an example of a manifest for a website and the metadata of our PWA
Note: Do not forget to specify, as with a stylesheet using the link tag, the location of the manifest :
<link rel= "manifest" href= "manifest.json"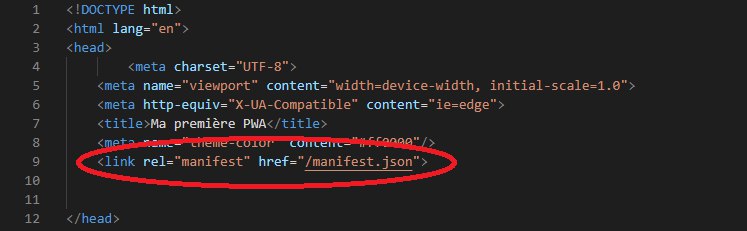
{

    "short_name": "ICE",

    "name": "ICE DEV PWA",

    "icons": [
      {
        "src": "ice.png",
        "type": "image/png",
        "sizes": "192x192"
      }
   ],

    "start_url": "/index.html",

    "background_color": "#000000",

    "display": "standalone",
    "theme_color": "#ff0000"
  }
In summary, here is the purpose of each of the listed data :
- Short_name: A short name for the web application, understandable to a human. It’s intended to be used when there is not enough space available to display the full name of the application.
- Name : Provides a name for the application, human-readable, as it is intended to be displayed to the user.
- Icons : Defines the logo of our PWA, for example here: “ice.png” of 192×192, at the root of our site.
- Start_url : Specifies the URL that loads when the user launches an application from a device.
- Display : Sets the preferred display mode of the developer for the web application (use standalone).
- Theme color & background_color : Defines the background color during loading and when using the application.
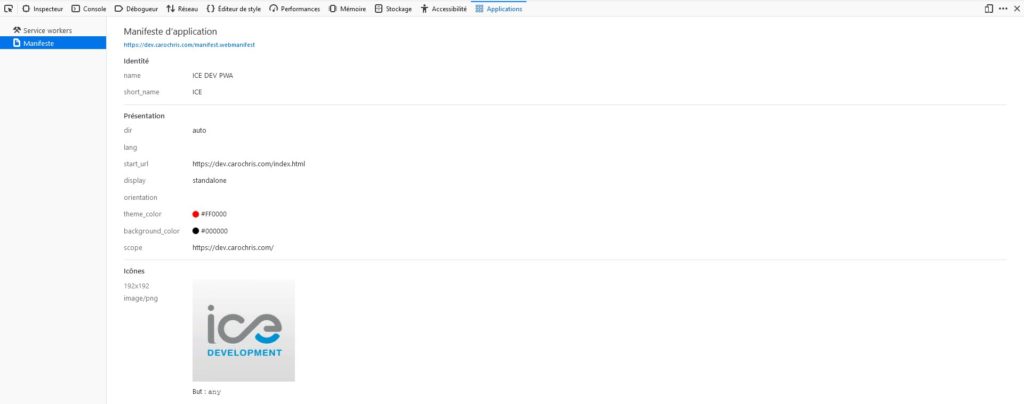
To verify that everything is working well, you can see the manifest appearing in the “application” section by right-clicking + inspecting
Step 2: HTTPS Protocol
If the website does not follow the https protocol, you need to consider the following two scenarios (if you already have an SSL certificate, move on to step 3) :
If you manage your own server: It is essential to obtain an SSL certification
There are solutions like “Let’s Encrypt“ that allow you to get one reliably.
Otherwise, in the case of shared hosting, you need to use a paid solution to be defined with your host.

Step 3: The Service Worker
The Service Worker acts as the link between the host and the browser. It also allows for the management of the cache that you want to select when using the web app.
To configure it, you need to add two JavaScript files (at the root of the site).
Let’s call them script.js and sw.js.
Once this is done, simply add the following function in our script.js :
if ('serviceWorker' in navigator) {
        navigator.serviceWorker.register('sw.js')
          .then(function () {console.log('Enregistrement reussi.')})
          .catch(function (e) {console.error(e)});
      }
This function aims to test if the service worker is present in the browser and operates efficiently.
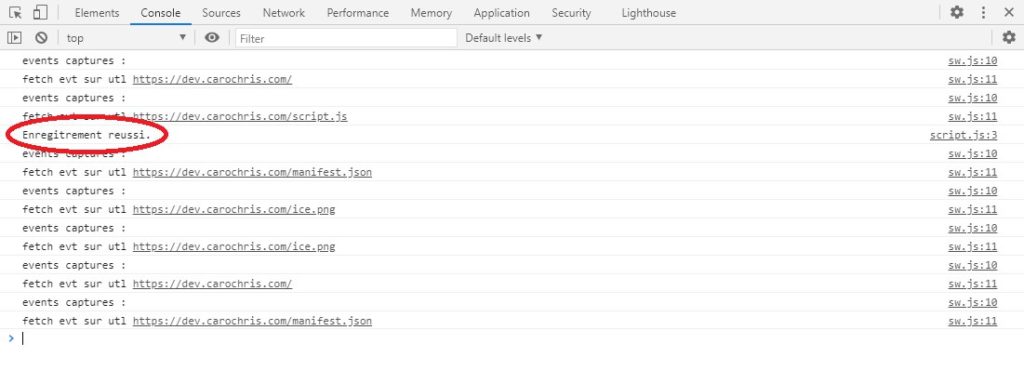
You can check if the Service Worker has registered correctly in the console or if it returns an error in the browser console. (right-click + inspect)
We will now add the basic configuration to the sw.js file.
//lors de l'installation
self.addEventListener('install' ,evt =>{
console.log('install evt',evt);

})


//capture des events
self.addEventListener('fetch' ,evt =>{
    console.log('events captures : ');
    console.log('fetch evt sur url' ,evt.request.url);

})
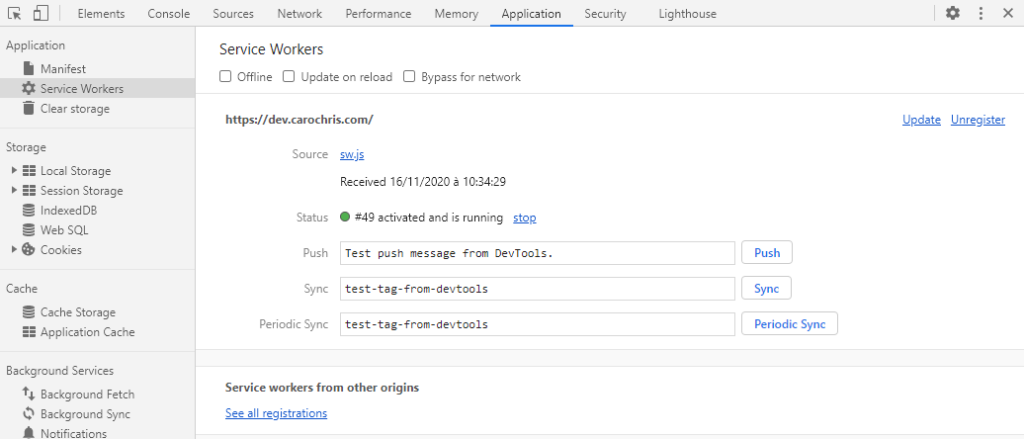
Important note: You can verify that everything is working correctly in a browser in the “application” section when you right-click + inspect.
Testing the Progressive Web App
Chrome offers an extension that allows you to check the efficiency (performance, accessibility) of your application via a Google extension:
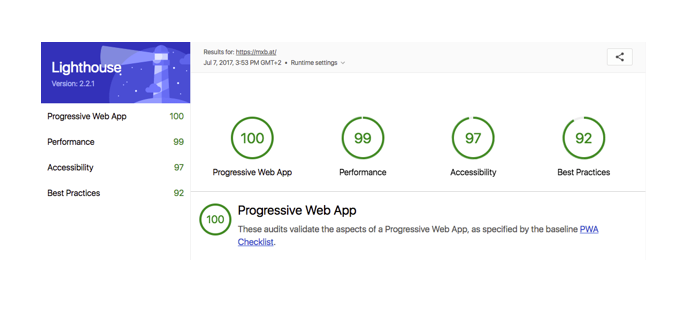
This enables you to verify that everything is functioning correctly.